

One of the best upgrades for your Class 7 industrial sewing machine is switching from the metal operator wound under bobbins used in the early 1900s to the pre-wound Style 41 bobbins (We detailed the advantages here).
You’ll need a bobbin pin in the shuttle casing to keep the pre-wound bobbin centered. Here are step by step instructions on how to complete the easy one time set up:
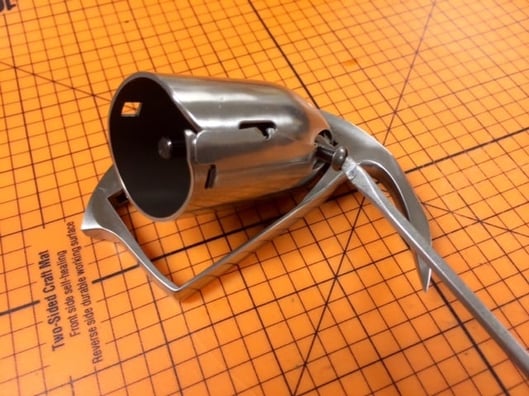
Step One – Remove Hook and Casing from Machine
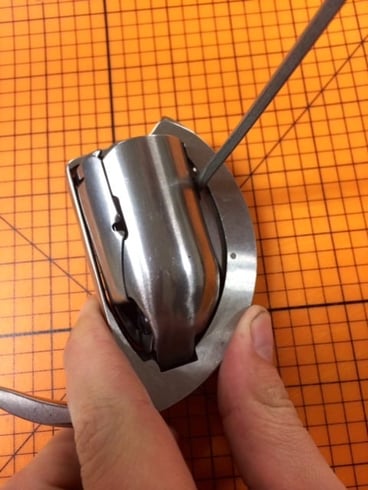
Step Two – Release Bobbin Case from Hook Frame
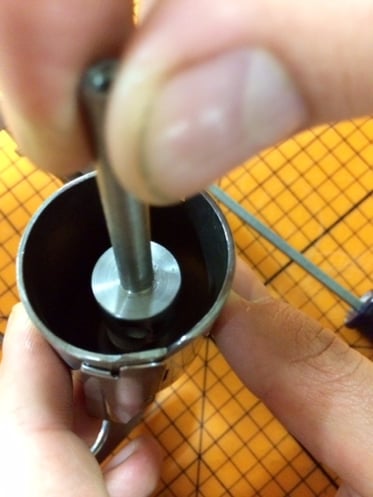
Step Three – Remove Retaining Screw from Base of Bobbin Case
Step Four – Insert Bobbin Pin into Case

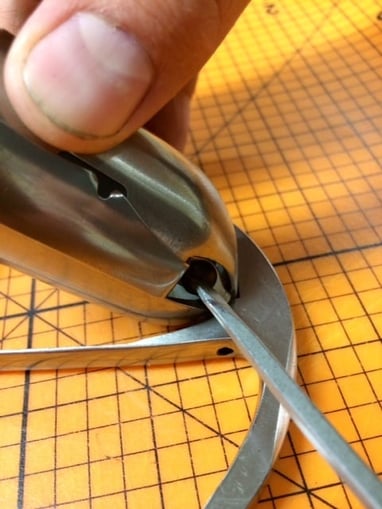
Step Five – Align Hole in bobbin Pin with Thread Hole in Bobbin Case Post
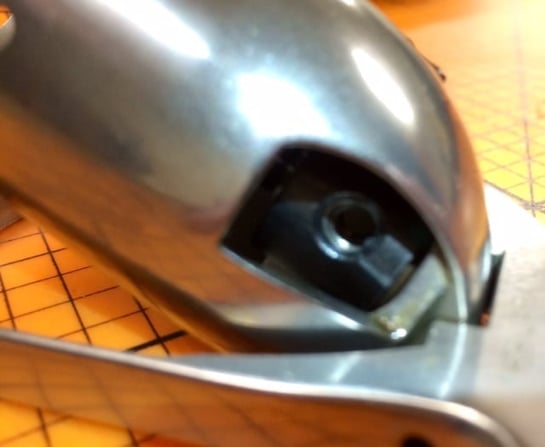
Step Six – Reinstall Retaining Screw
Step Seven – Insert Pre-wound Bobbin

While this pin is available from your local service center for $68.00, yours will be included with your first case of thread or bobbins from Service Thread!
Contact Service Thread for your free bobbin pin, technical support, or sewing supplies.