If your top thread is shredding or coming apart while sewing, this could indicate a common issue with the process. When the sewing machine pushes the needle through the material, it grabs the thread with a hook (or “looper”), while the needle rises back up. If there is a problem with this step it causes the thread to peel back, shred, break, flake, or not even get caught at all.
Basic Tips to Eliminate Top Thread Breaking on Industrial Sewing Machines
Below are some basic checks that will get your machine back in shape and sewing.
- Clean and oil the machine. Sometimes this simple step is all that is required to get the machine back in working order.
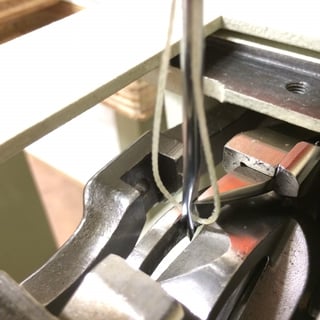
- Check timing to ensure the needle is in its correct position and the hook or looper is crossing as close as it should and when it should. Check your machine’s manual for the particular setting required. Below is an example of a properly timed hook and needle on a Class 7 sewing machine.

- Inspect the needle to be sure it is not bent or blunted, and replace it if needed.
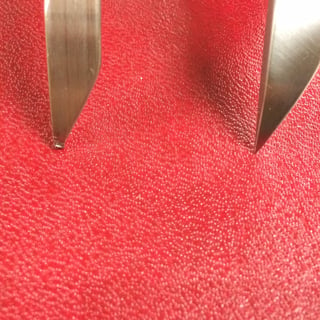
- Check hook tip for deformity, as this can cut the thread. If it is deformed, it is possible to carefully sharpen it by hand. Do not use a power tool for this job.

- Review the top thread tension. The needle could be deflected from too much tension causing the hook to strike the thread, rather than grasping. Excessive tension can also cause the thread to flatten out in the tension discs or knot up before the tension discs.
- Ensure tension is balanced. If top tension needs to be tight, bottom tension should be reduced as much as possible. Tension should only be enough to get a good looking seam.
- Verify the correct needle size for the thread being used, too large of a needle will not allow the loop to form correctly.
- Right presser foot hole size. Too large of a hole allows the needle to deflect.
- Verify that the throat plate hole is not excessively large. Too large of a hole will allow material to follow the needle down under the throat plate and cause feeding problems as well as loop forming problems.
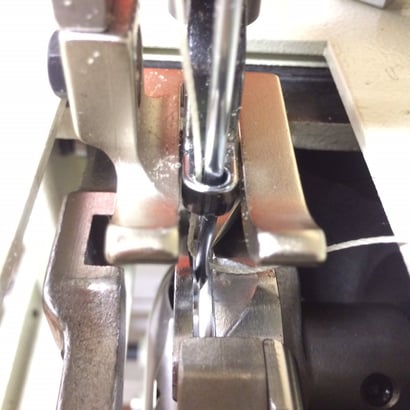
- Ensure the needle is not rubbing on the presser foot or the throat plate. See example below

- Check the needle bar for excessive play, as this could mean the needle does not stay where you put it while setting the timing.
Going through the above steps will ensure your issues with shredding or threads coming apart are a thing of the past! Feel free to contact us to learn more.


