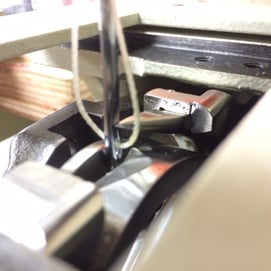
 The timing on industrial sewing machines is essential to produce even stitches in the fabric of goods that your company produces. Different types of sewing machines need a different process to set the timing that corresponds to whether the unit does not have a shuttle, as in the case of looper machines, or has shuttles that oscillate, rotate or are vibrating/boat type.
Tips for Timing Industrial Sewing Machines
Pay close attention to how you adjust loopers that have several needles and coverstitch capabilities, as well as overlock or serger machines. Vertical axis rotating shuttle machines can have double needles, but these can have different timing than those with a horizontal axis. These general tips can help time your industrial sewing machine, however make sure to consult your owners manual to properly remove, modify or install parts that are essential to the timing process.
For most machines, place the tip of the looper or hook 1/16” above the eye of an industrial size needle. Make the gap smaller for smaller threads and machines. For example, the gap would need to be smaller when sewing with a bonded 69 nylon on an industrial sewing machine than it would when sewing with a bonded 415 nylon on a larger sewing machine. Class 7 machines and loopers work similarly, with the Class 7 using a horizontal axis that rocks back and forth but never accomplishing a full revolution. Loopers also make this motion, except there is no bobbin and the top thread is unable to go around the bottom thread to make a 301 lockstitch.
In single thread looper machines, the looper pecks into the loop and holds the thread open for the needle to enter again, then pulls back and starts the process whereby the needle pokes into the past loop while the looper grabs the needle loop, subsequently starting a chain. Looper machines are typically referred to as chain stitch machines.
Use a small ruler if possible to measure the looper or hook placement, taking into consideration that you may have to adjust placement by very small increments depending on the aforementioned features of the machine. Keep adjusting the distance until the hook and needle are an appropriate distance apart. Generally, if you are within 1/16", you will have set needle timing on the machine. The looper/hook should come as close as possible to the needle, adjust the looper holder/ shuttle holder until it allows the loop/hook to almost touch the needle when passing. Perform a test run to make sure stitches are even. Below is an example of a properly timed Class 7 sewing machine.
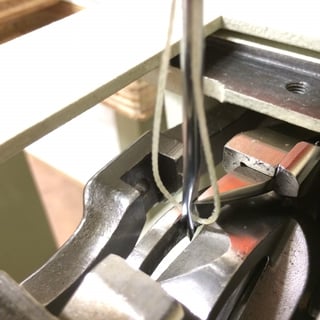
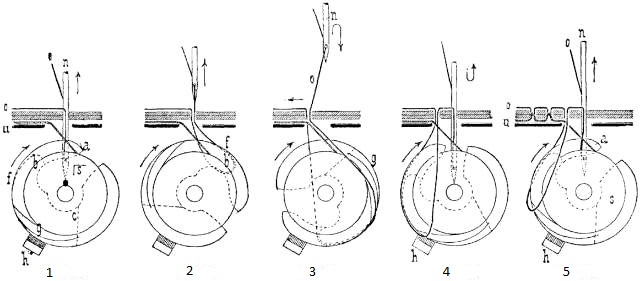
To get a better visual of the differences in looper and bobbin sewing machines, here are some photos and illustrations:
https://en.wikipedia.org/wiki/Sewing_machine#/media/File:Chainstitch1.gif
Single Thread Looper (no bobbin)
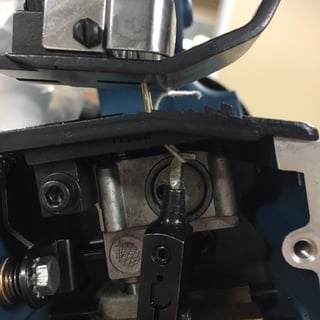
Double Thread Looper (no bobbin)
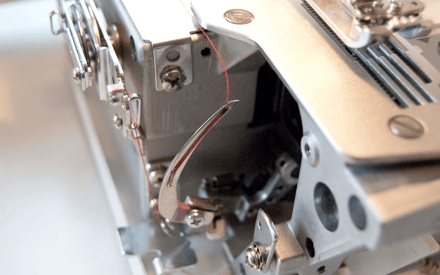
Oscillating Shuttle Hook (bobbin inside)
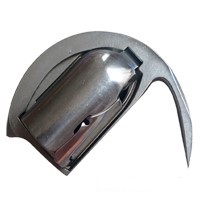
Horizontal Axis Rotary hook (bobbin inside)
Are you are having trouble timing your industrial sewing machine? We would be glad to help!


